Monday, October 10, 2011

Potion Making How-To


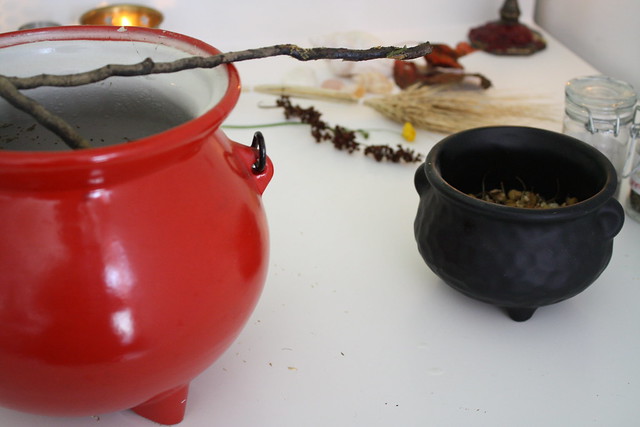
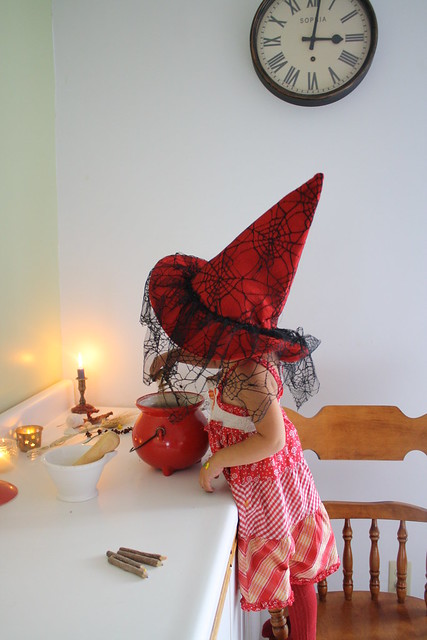
First, making a potion can be very simple, as it can be very elaborate... I better like simple! Since not all of us has access to bonfire in the middle of a meadow or on a shore, I'll propose you something most of us has but seldom use; a chocolate fondue kit. You know the one you can put a tea light under? It makes reasonable size potion and you can safely brew you potion all day long with that. I opted for my big red cauldron in the picture, because.... It makes great pictures ;)


You'll need:
  • Cauldron/Fondu kit/ Pot-pourris Burner
  • Tea light
  • Glass stick, or twig, or wooden spoon (those are great since you can carve symbols into them!)
  • Mortar and Pestle
  • Ideally Spring Water, but boiled tap water can do.
  • Herbs and Essential Oils

Herbs can be substituted by their essential oils, and vice versa. For herbs, you need to crush them hard enough to break them and free their essence, but turning them into dust isn't a necessity.


Previously take your water to boil. By the way, if you don't have any fondue kit, you can makey your potion on your conventional oven, you just have to watch it more closely when it brew. Pour it in your cauldron. At his point you can request help from the fire and water element. As a rule of thumb, have about 2 tablespoon of herb for a cup of water. Crush each of them into your mortar and sprinkle on the water. If you feel like strengthening your potion, you can say aloud the name of the herbs/oils you add and why you do so (ex: "Ginger for success", "Rosemary for memory", "Pine for ideas"...).


You can also say something like:

By the Fire and Water,
By the essence of (herb),
Make it as I wish!


When all your herbs and oils are in, let them soak while your think of your goal. Concentrate on it, and when you feel like it's the time, take your stick and stir 3 times; counter-clockwise for banishing potions, clockwise for others. You can also say aloud your goal.


You can also say a more complex incantation, like this one:

By Water and Fire, By the Air and the Earth,
May the hidden powers come to help,
And grant me my wish.
(Ain't it harm none) It is my will, so mote it be!


The potion we made in yesterday was:
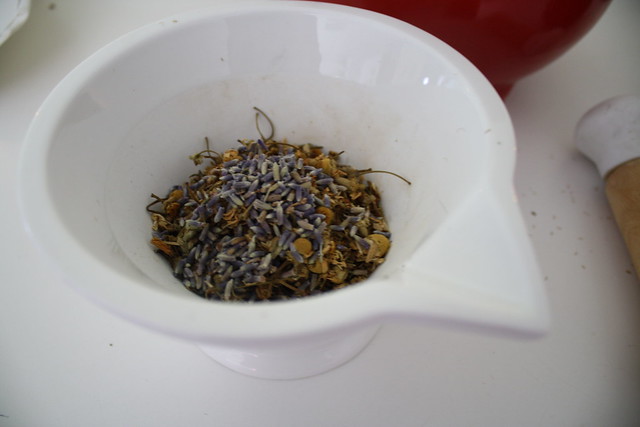
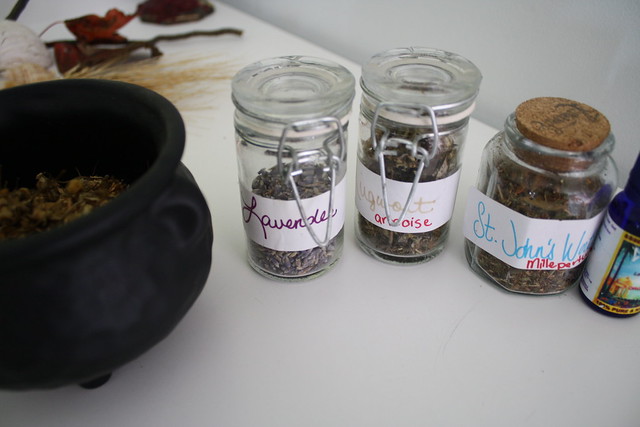
Calming Potion

Chamomile
Lavender (+ 5 oil drops)
Mugworth
St. John's Worth


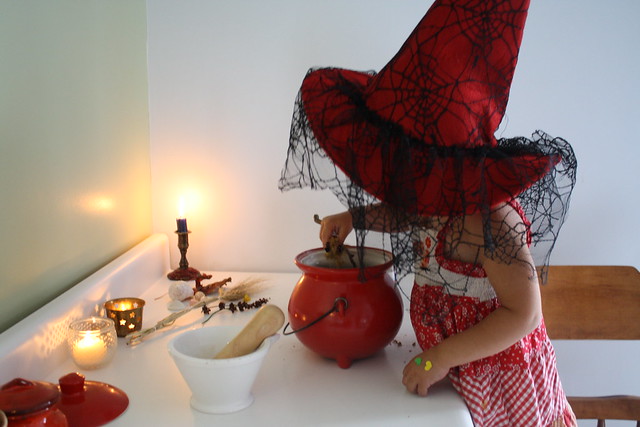
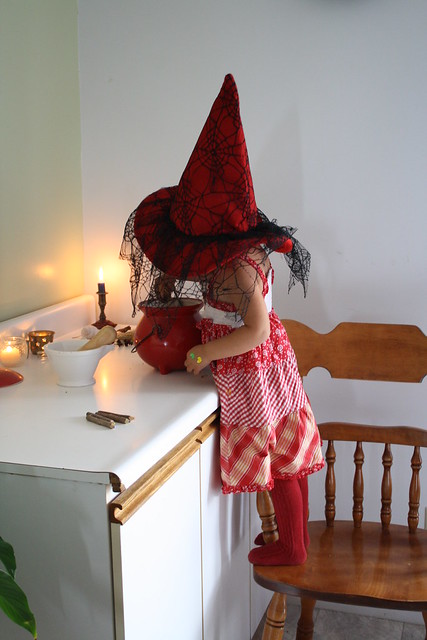
Hope you all enjoyed! It is very fun to do and it leaves your house smelling good, so I hope you'll try this at home. It can be a really fun thing to do with the kids (Mariann couldn't stop throwing chamomile until there was no more...). Or just by yourself... It is a very relaxing activity, and if time allows you, you can meditate on it afterwards.


****************************************************

Monday, April 25, 2011

Mini May Pole How to

As Beltane is just around the corner, and I've shamefully abandoned this place since I created it, I thought Wulf wouldn't mind me re-posting a guest post he did on my blog last year. Enjoy this very awesome post about a very awesomely creative men!


When Andréann said she'd love a mini-maypole for Mariann, my first thought was “It'll have to fold up somehow or I'll never be able to mail it.” I imagined something that stood on the floor that the two of them could dance around; it wasn't until later that I realized she'd probably meant a miniature maypole to sit on the table! I've worked as an opera prop builder for 25 years, so a full-size maypole that could fit into a small mailing box seemed a perfectly natural thing to ask for. I often forget that most of the world doesn't work that way.


It also had to be lightweight, and sturdy enough to be played with by a toddler. (I just substituted “to be handled by a tenor” and figured it would be about the same.) I also didn't want it to be too “good”, so it wouldn't be a tragedy if someone's dancing got too energetic and it was damaged. I like cardboard tubes as a building material because they have exactly the needed qualities: they're lightweight, rigid, sturdy and above all, cheap – usually free. So of course I never throw them out, either at home or at work, and was able to find a good one that was about the right diameter and long enough. I cut it into four sections (using a bandsaw, but one of the other nice things about cardboard tubes is that you can easily cut them with just a craft knife.) To join the sections together I needed another tube exactly the right size to fit either into or over them. Of course even in my vast tube collection there was nothing precisely the right diameter, but I did find one that fit over, though a bit loosely.


I cut short pieces about 6" long and glued them onto three of the tube sections, extending about half way past one end of each. (The bottom section would fit onto the base and not need an outer sleeve.) Because the outer tube was slightly large, I built up the end of the smaller tube with a couple of layers of brown kraft paper glued on to make a snug fit. The other ends also needed to be thickened just enough to make them fit precisely but still slide on and off easily. I was originally going to glue on a layer of thin felt, but it was much too thick and with a bit of experimentation I found that a single layer of adhesive cloth tape was exactly right. Easy!


I'd like to say I carefully calculated the optimal width for a stable base, but I have to admit I just made it fit the scrap of plywood I happened to have! I used hardwood marine plywood because it's quite heavy and is much stronger than ordinary construction plywood. That means you can cut it into quite thin shapes without it being too fragile. And one of the problems I had got myself into by making a two-piece slotted base is that the pieces that fit up inside the tube were going to have to be quite thin but would be subject to a lot of stress. If I didn't have to make the base come apart for mailing, I would have just used a circle of ordinary plywood with a piece of wood screwed to it to fit up inside the tube.


The top of the maypole is the part that I would improve. I wanted it to be a pinecone shape, which I made by cutting rows of petals out of stiff paper and gluing them over a styrofoam egg. Even as I was doing it I realized I should have used felt. It would've been easier to shape over the egg so I could have cut larger petals, and would have made a better finished shape.


My original plan was to cover the pole with gift wrap, but when I tried it didn't look very good and was going to be awkward to deal with the raised sleeve sections. In the end I just gave it a base coat of gesso and painted it with acrylics, which was better. Fortunately the cardboard tube already has a spiral seam on it, so it was easy to wrap a strip of paper around to draw out a nice even spiral.


I happened to have three lengths of 1 in. ribbbon in good colours, and tied it onto the top with lengths of ¼ in. ribbon. Little bells onto the ribbons give it a bit of jinglyness.


After it was all assembled I realized I'd made it bigger than was really necessary. I wasn't sure how tall Mariann was, but I knew this would be taller than her. (Though I was surprised to see that it was almost twice her height! So tiny!) But toddlers grow very fast, and the extra height means she'll be able to dance around it for a couple more Beltanes before it's too short. By then I imagine it'll be danced to pieces anyway!


You can find Wulf writing in his blog, Into the Woods...

In the spring of 2008 we bought 40 acres of land just north of Colborne, Ontario. Mostly mixed hardwood forest, with no improvements except a primitive road and a well, it awaits our slow progress from city dwellers to forest folk. This is the record of our journey.

Wednesday, April 20, 2011

Beltane?

Any big plans for Beltane?  I have been crafting and just sent out my WWP Beltane swap parcel.

I have a ritual planed for April 30, getting very excited.

Sunday, March 20, 2011

Friday, March 4, 2011

Finished my Ostara Swap~

Ostara Trinket box

Wire Pentacle


Goddess Fertility charm

Fertility Bracelet

The goodies

More Goodies


I just finished and sent my Ostara swap things.  I am so excited, I hope she likes it all!

Tuesday, February 15, 2011

Craft musings

I have been bored and in the house this winter so I have been crafting up a storm.  Once I can access my pictures again, husband had to wipe the computer, I will upload some.  What are your Ostara plans!